Do you want to ride a sport bike, but suffer from TTLS (Teeny Tiny Leg Syndrome)? Tired of paddling your legs fruitlessly to back up on your motorcycle? Sick of spending time on the leg press only to realize that no amount of muscle will make up for your lack of leverage? Well good news! With an iPhone, some open source software, and access to a 3D printer, you can create a low profile motorcycle seat that will shave inches from your motorcycle’s seat height. Because cruisers aren’t for everyone, and because it’s more fun to overengineer solutions to simple problems.
Step 1: Acquire a motorcycle that is slightly too tall for you. I have a 2012 Kawasaki Ninja 650. I’m also 5’4″.
Step 2: Remove the factory motorcycle seat.

Step 3: Take your iPhone, any model with face ID should work fine, and download the ScandyPro application. This will allow you to 3D scan an object using your iPhone’s front facing camera.
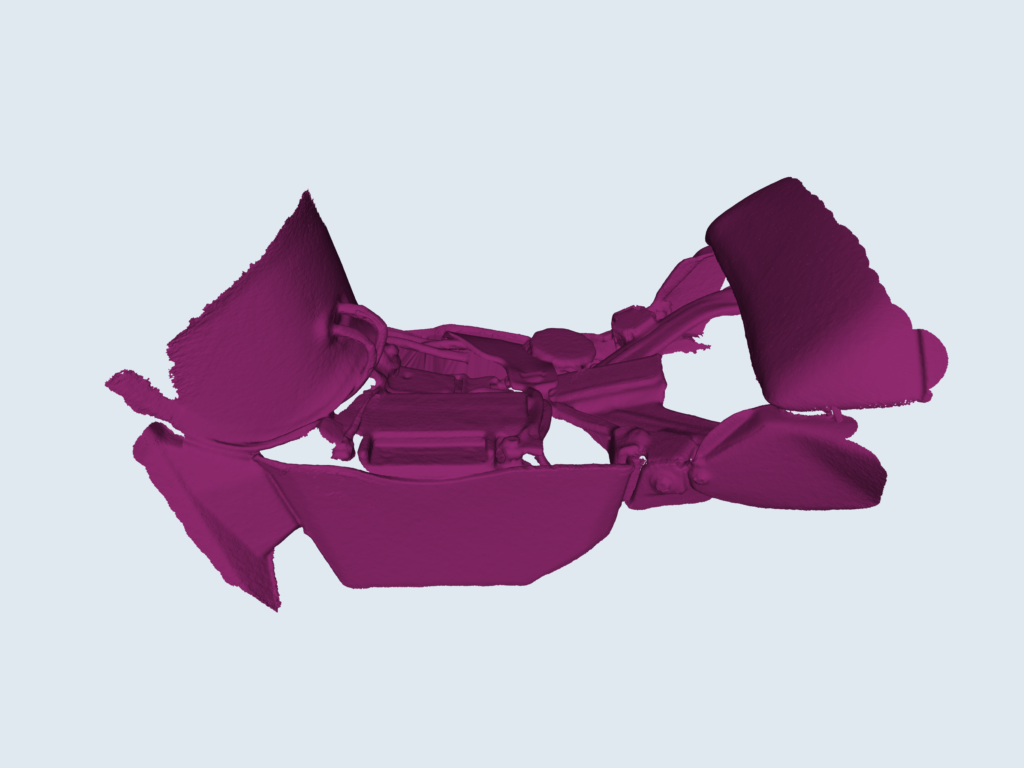
Step 4: Scan the area of the motorcycle where the factory seat normally attaches. Be sure to capture as much of the area as possible, you will need the scan as a reference for modeling the seat.
Step 5: Your scan will likely be janky and need some post-processing. We’re working with a front facing iPhone camera, so this is to be expected. Go ahead and download Meshmixer on your computer, it’s available for Mac OS and Windows. It’s a free mesh editor that will allow you to clean up the 3D scan. Export the 3D mesh from ScandyPro to your PC, and make sure you make a note of the model scale. Whenever you import or export, be consistent with the scale so that you don’t mess up the size!
Step 6: Clean up the 3D scanned mesh. Because of the low quality and the irregular size of the scanned area, I was not able to get the mesh to be watertight. I just cleaned off any floating geometry, and cut out any unnecessary sections. My goal was to lower file size so that when I imported it into a CAD software, it wouldn’t unduly slow the program down. Here’s a great tutorial to get you started with Meshmixer.

Step 7: Once your mesh is as clean as possible, export it to a 3D modeling software of your choice. I like to use Shapr3D on my iPad, something about working with a stylus makes 3D modeling more fun. Again, make sure that the model scale is correct.
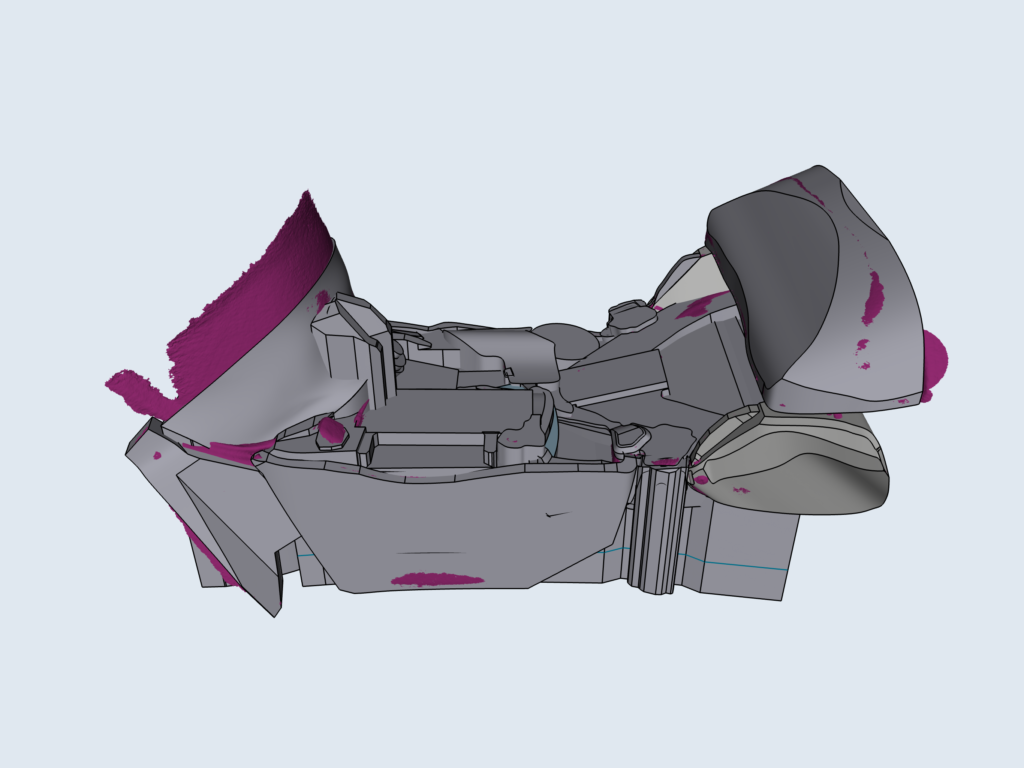
Step 8: Here’s the tedious part. Using the 3D mesh, make a negative of the scanned area. This is where some time and familiarity with 3D modeling comes in handy. The image below should illustrate my point. Essentially, we want a complex shape that closely matches the 3D mesh. This will give us a base to start modeling our seat. Once we finish modeling the seat, we just subtract the negative, and we’re done!

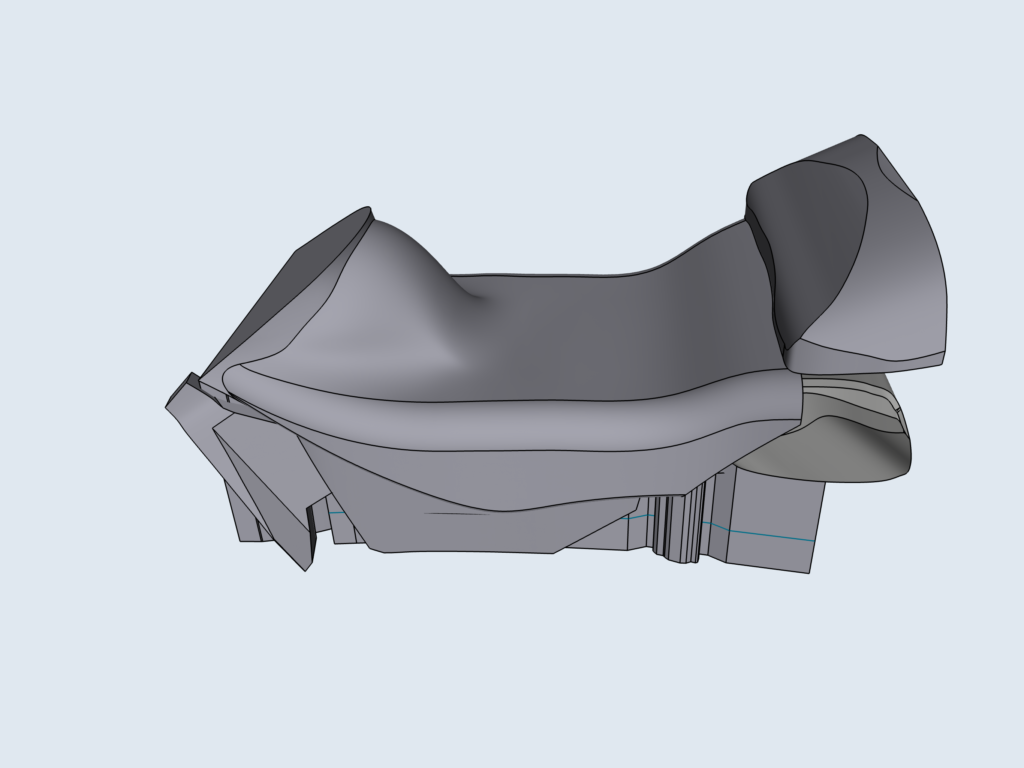
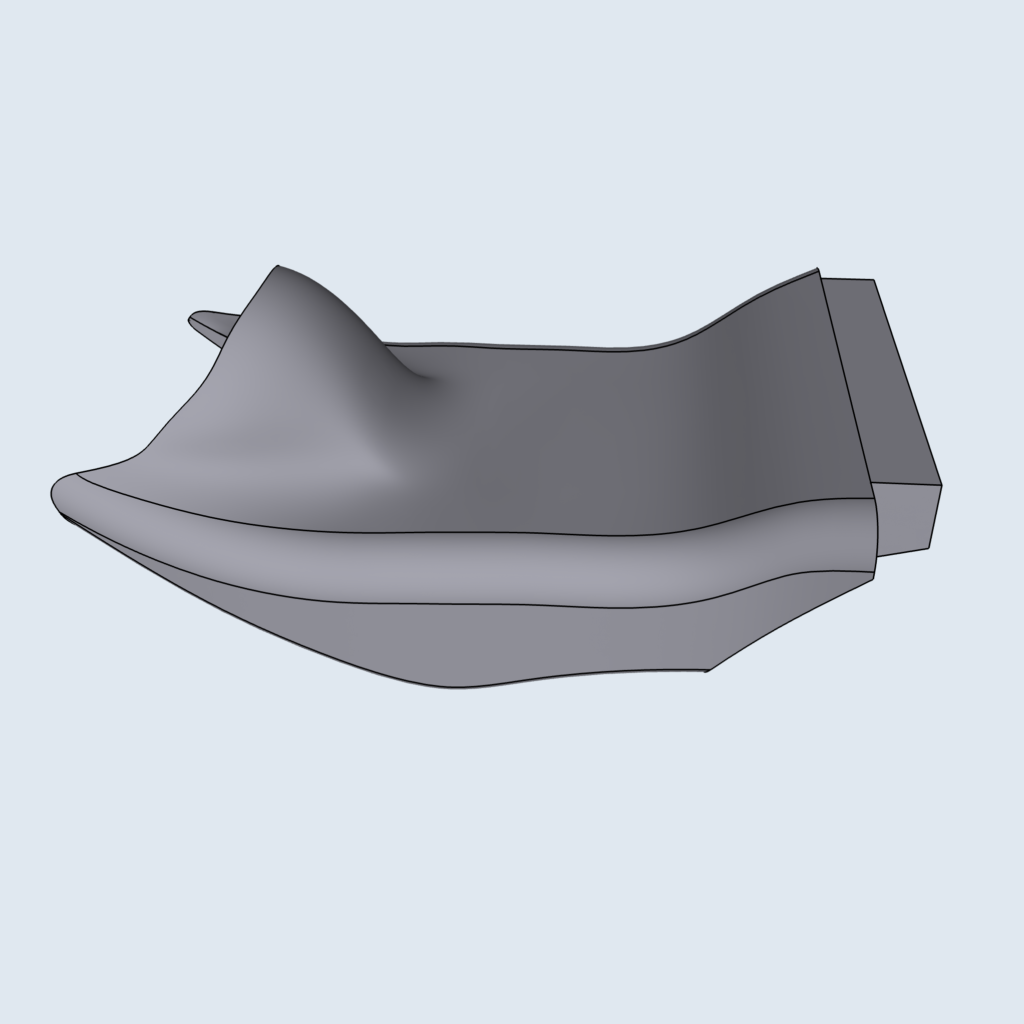
Step 9: Actually design the seat. This requires a touch of creativity and some knowledge of what filament you’ll use to print your seat. I used thermoplastic polyurethane (TPU) and highly recommend it. TPU is a flexible thermoplastic that provides some cushion. Additionally, its durability, abrasion resistance, and layer adhesion allowed me to make some areas of the seat as thin as 1/4 inch. Just note, the thinner you make the seat, the more you lower the ride height and the more you increase your discomfort. The designing process takes some time and testing, it took me nearly three weeks and three prototypes to create a comfortable seat that sufficiently lowered the ride height.

Step 10: After designing the seat, subtract the negative that you created from the mesh. This will likely leave some weird geometry, so spend some time cleaning that up. If you have access to a 3D printer, this is where your build area comes into play. You’ll need to subdivide the model to fit into your build area and then assemble the seat after printing. This is kind of a pain, so if you have access to a larger printer, or can send the model to someone who does, I would highly recommend it. I used a Creality CR10S Pro V2, which was capable of printing the seat in one go. Be sure to print slowly, a print failure is a colossal waste of time and material. It took three and a half days for my printer to finish the seat. If you use a flexible filament, adjust the infill density, pattern, and orientation to hone in on the optimal amount of cushion.

Step 11: Attach your seat to your motorcycle! Because of how tight the tolerances are with the 3D scan, I had a snug fit with each of my prototypes. I didn’t need to create a fastening system, the seat is held in place by the irregular shape of the motorcycle. However, your mileage may vary with the quality of your scan and your CAD skill. For your safety, make sure the seat is snug and will not dislodge when you’re riding. Note: you will likely repeat steps 9 through 11 multiple times to get everything just right. I did it three times, but was able to shave off 3.5 inches of height, and 5 inches of width.

Step 12: Go out for a ride! Maybe back your motorcycle up. Enjoy the feeling of having two feet down at a stoplight. And then, after all your hours of labor, buy another motorcycle and begin this process all over again.